
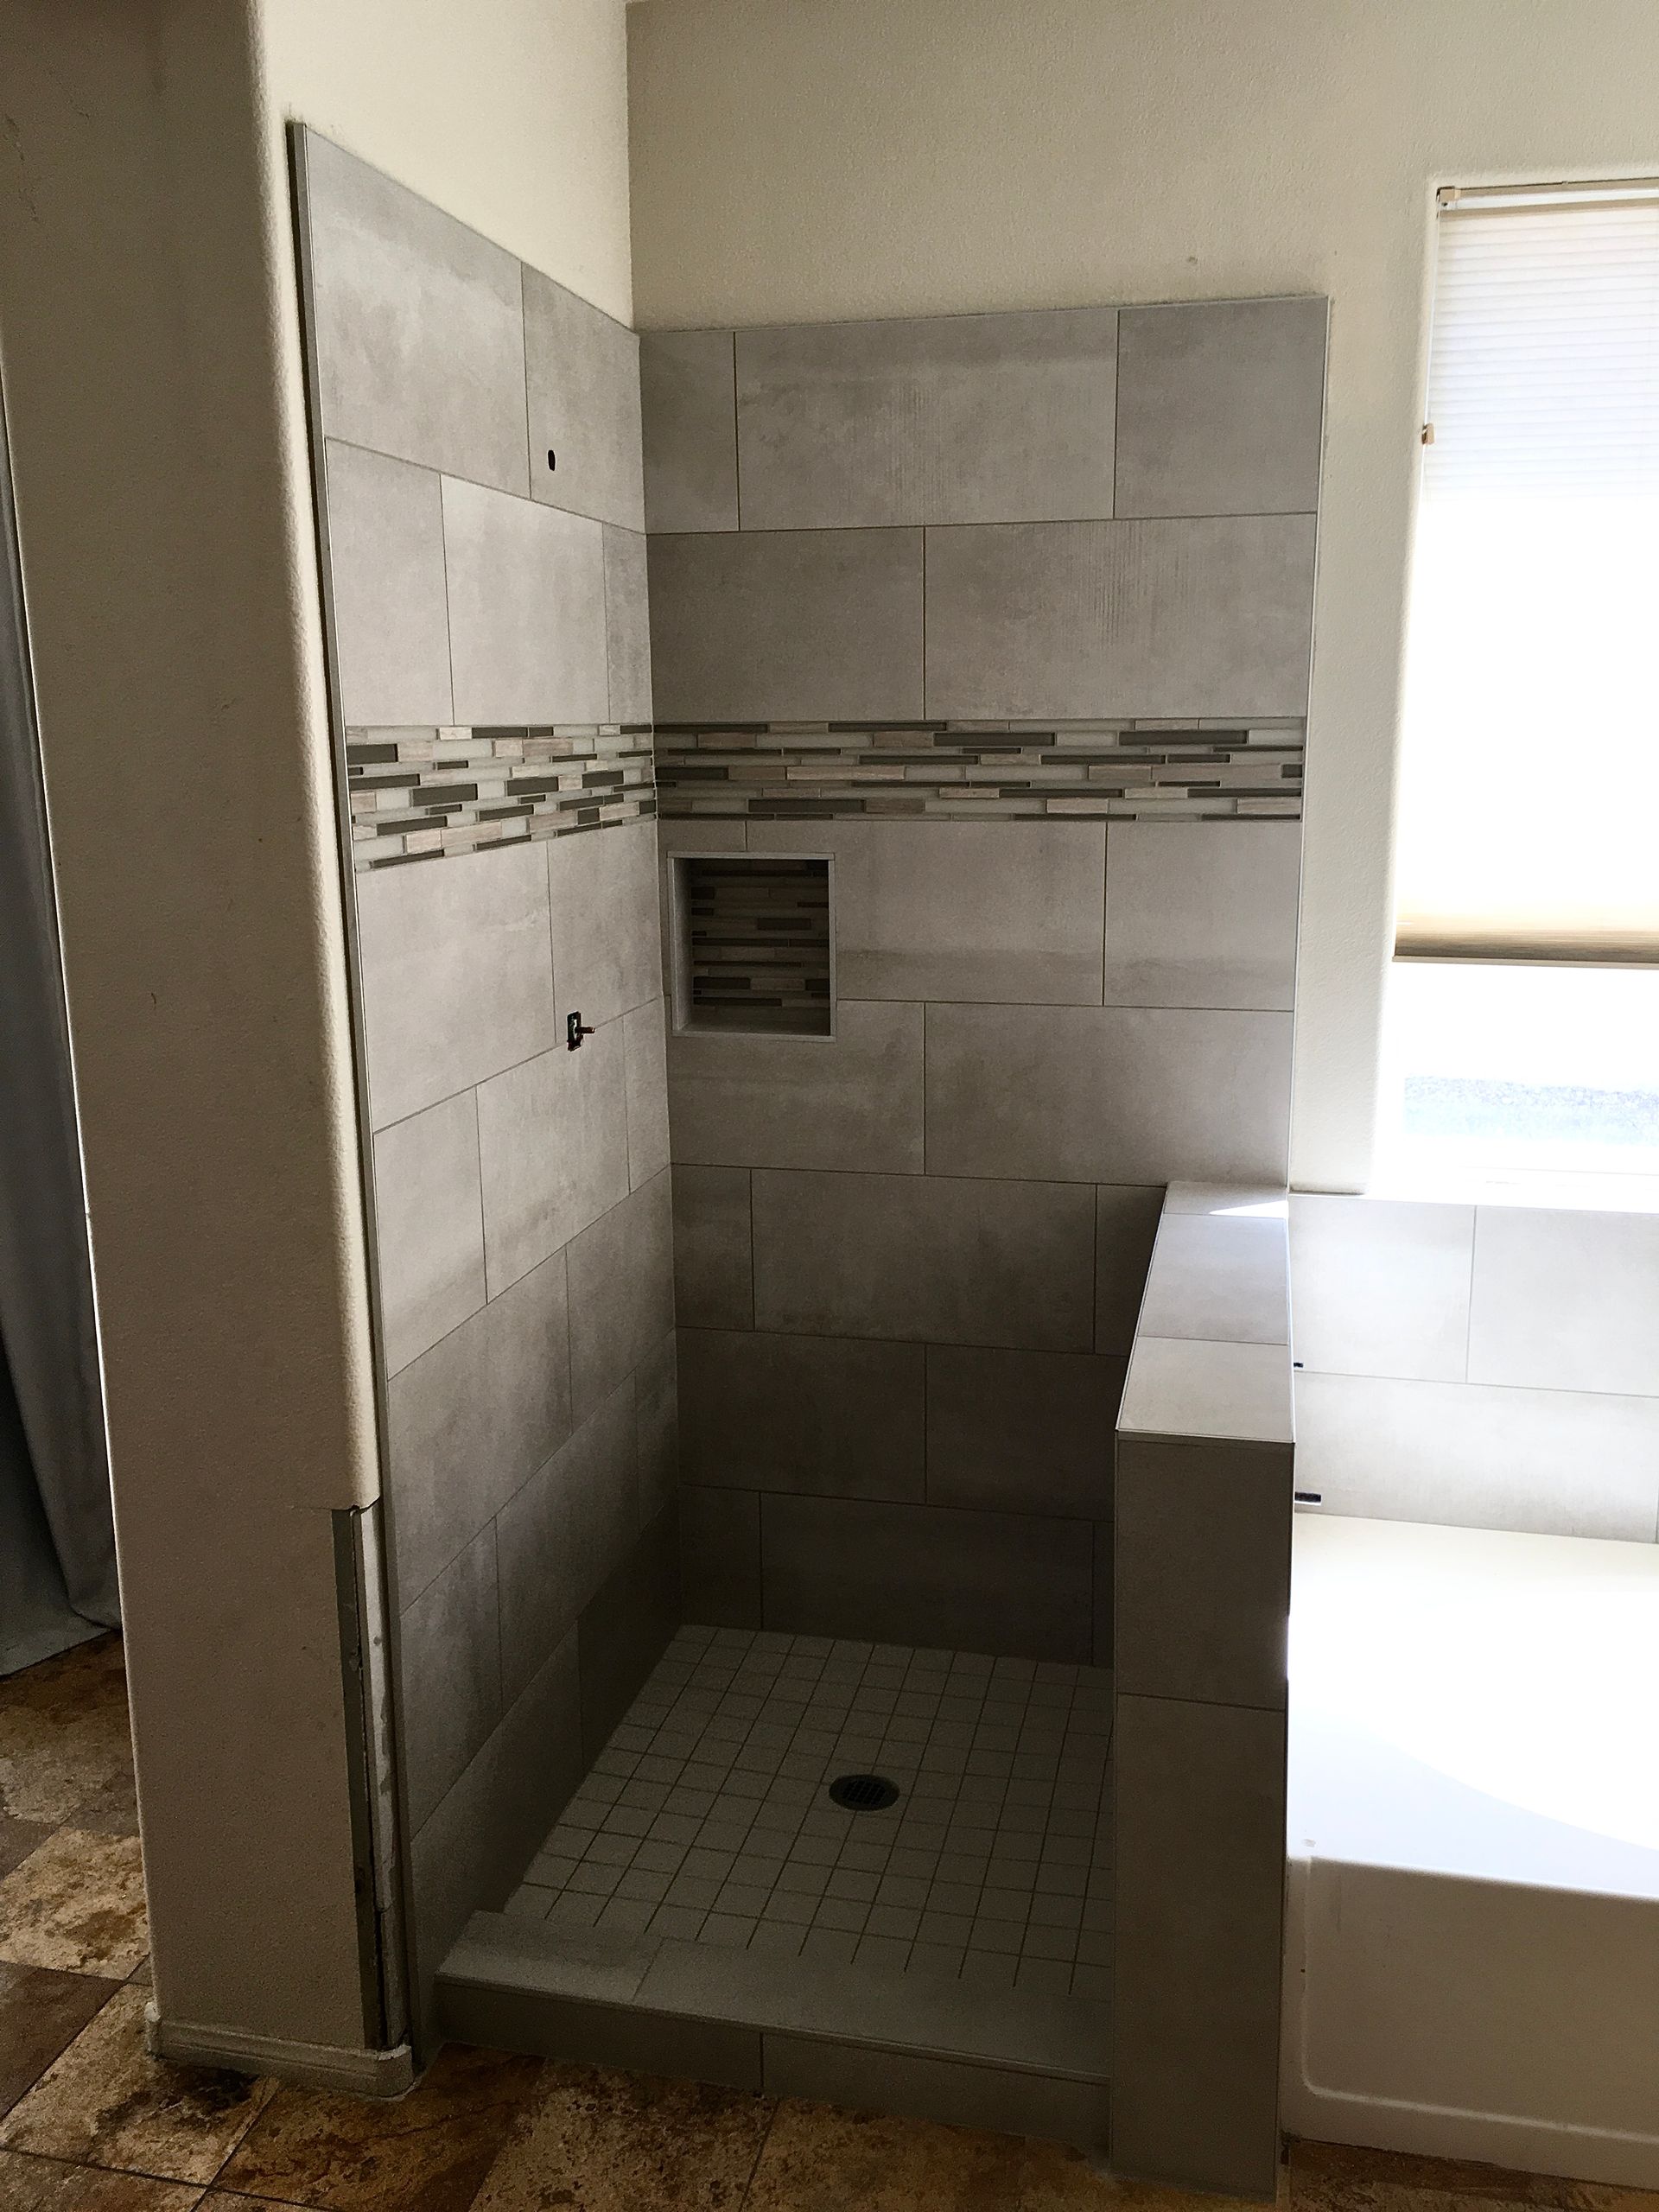
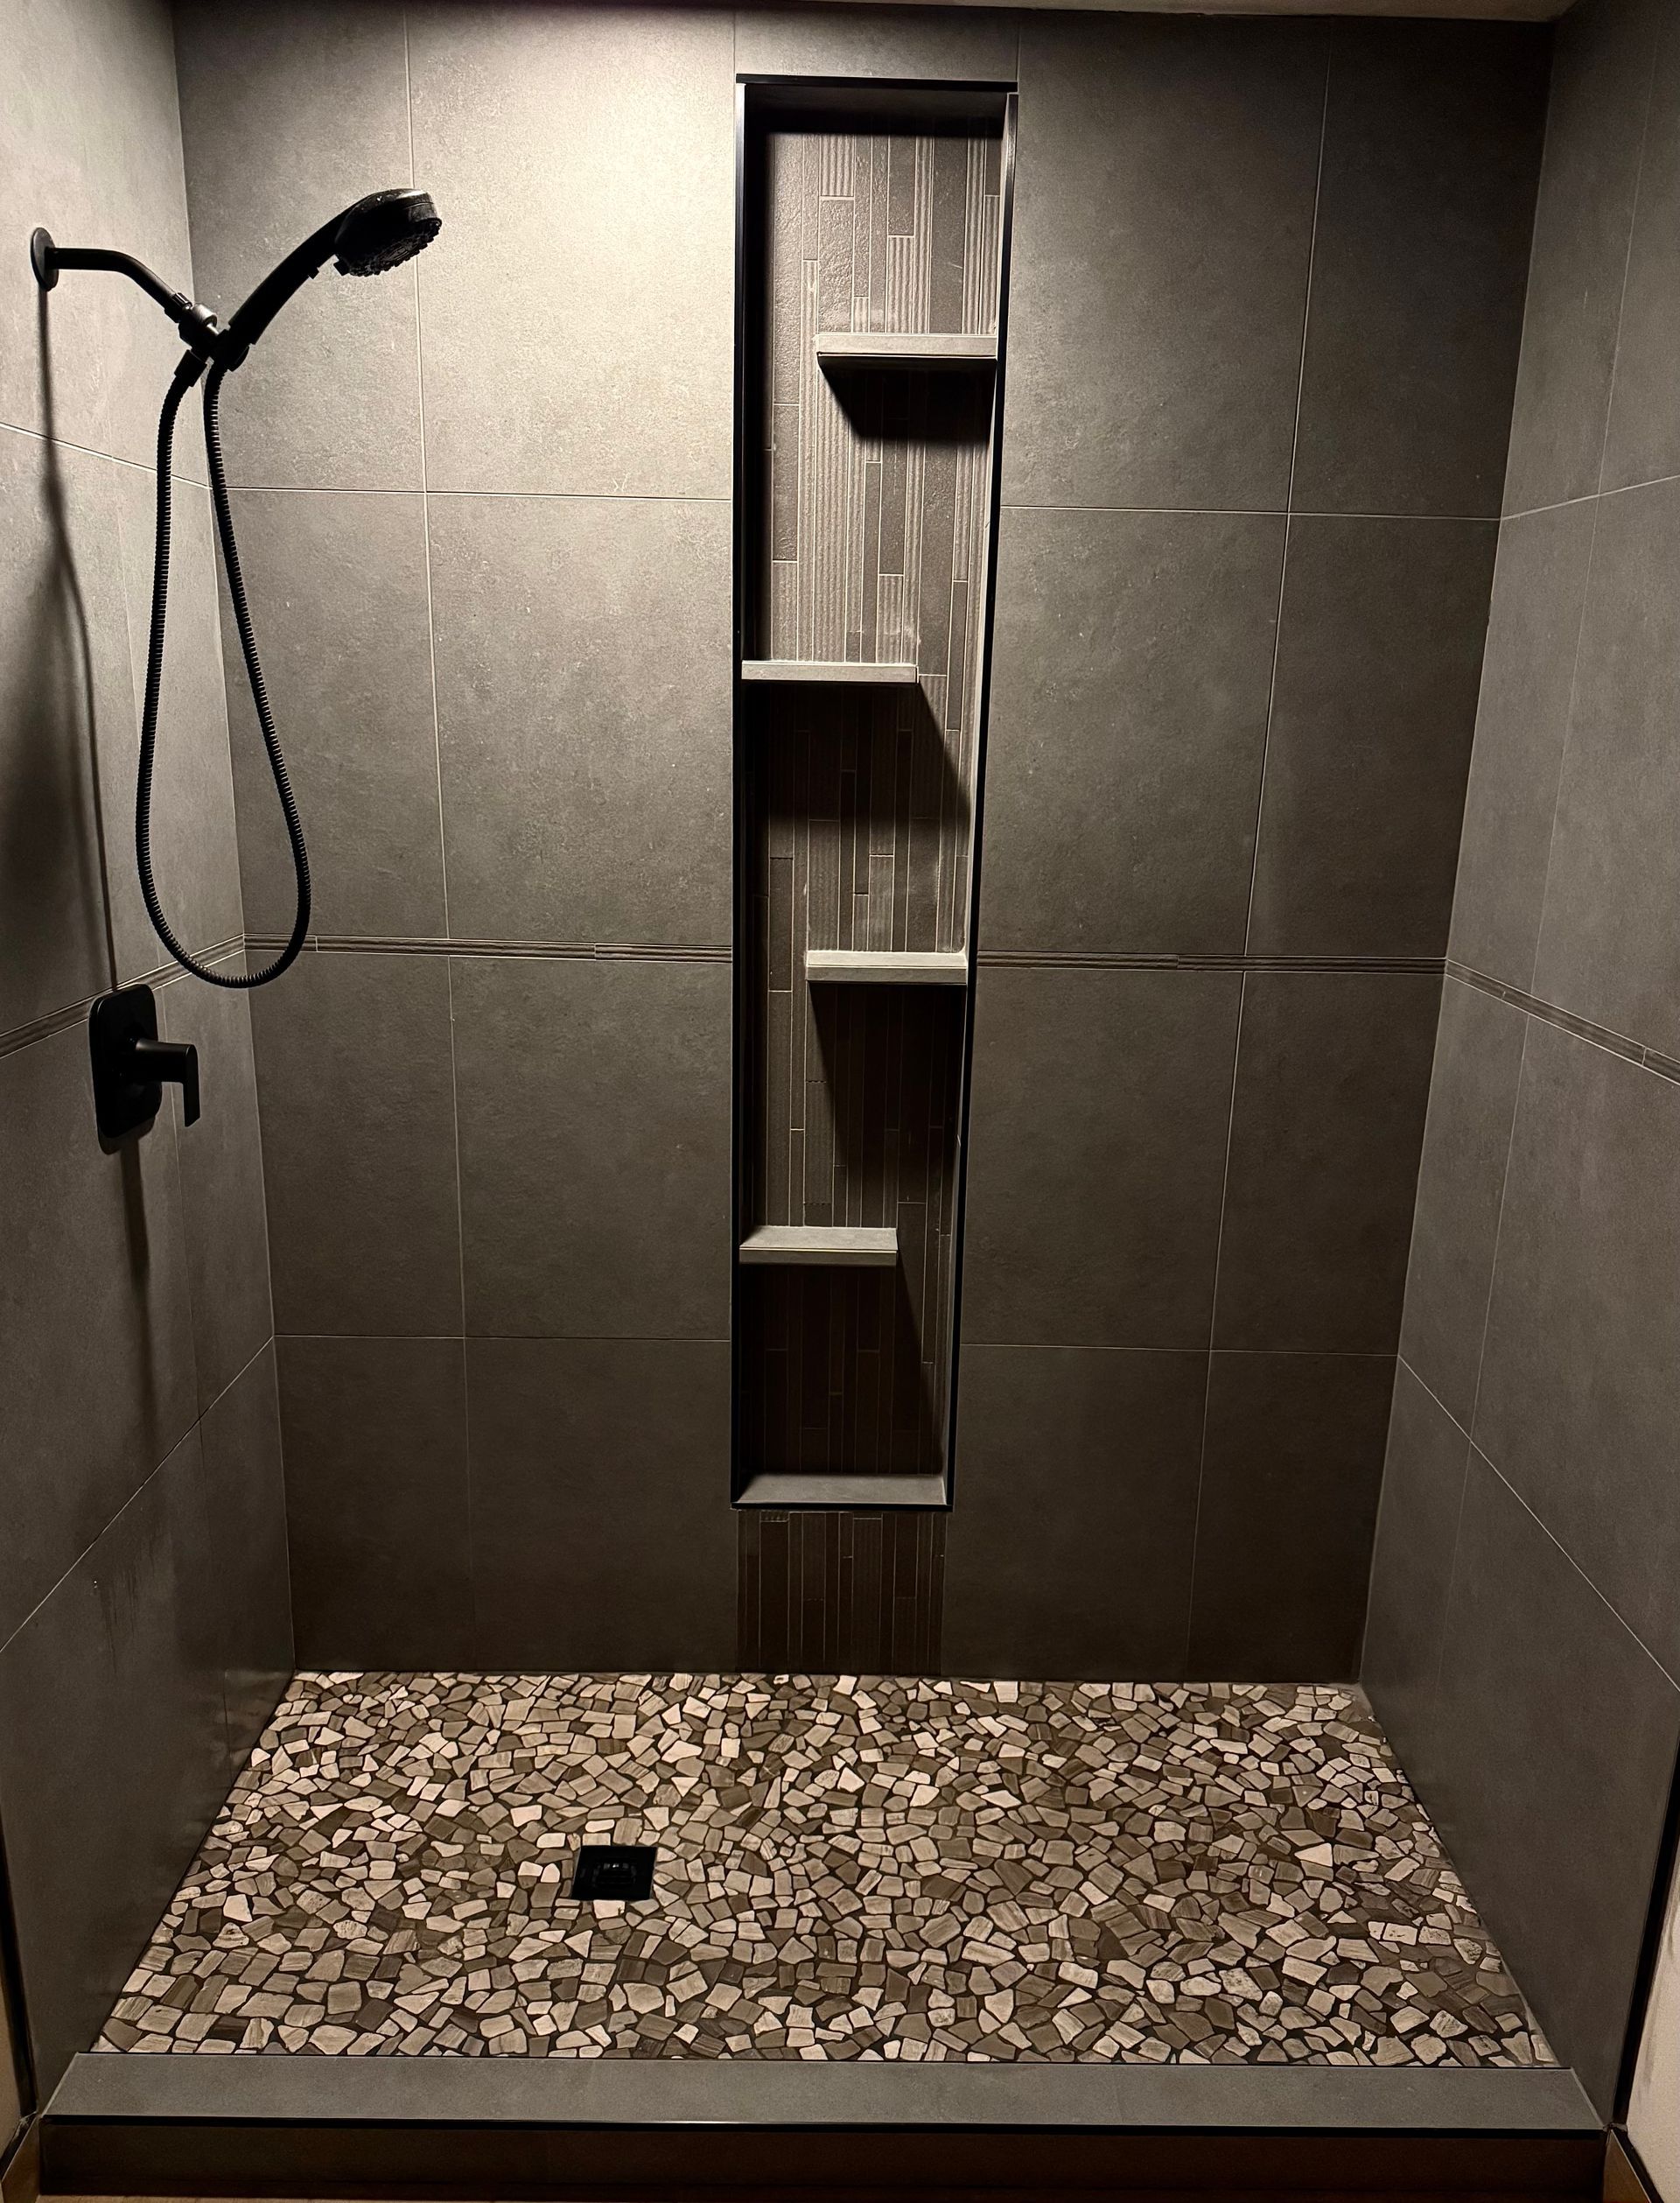
Tile Work Built for Daily Moisture Exposure
Residential bathroom remodel in Las Vegas for cracked tile, failing grout, and surfaces that no longer hold up to daily use
Las Vegas residential construction from the 1980s through the 2000s relied heavily on builder-grade tile installations with minimal waterproofing beneath shower walls—a standard that produced bathrooms that look fine for a decade and then begin failing visibly at grout lines, corners, and curbs. Academy Stone and Tile performs residential bathroom remodels in Las Vegas, working specifically with tile, stone, and surface materials where substrate preparation and waterproofing determine whether the finished work lasts. Homeowners who see grout darkening along the bottom course, soft spots behind tile, or water staining on adjacent drywall are observing the early stages of substrate damage that expands if the surface layer is simply patched.
Each remodel begins with an assessment of the existing substrate and waterproofing condition before any tile selection is finalized. Walk-in shower conversions, bathtub surround replacements, and custom shower builds all follow a preparation sequence that includes waterproofing the pan, curb, and wall transitions before any tile is set—because those transitions are where builder-grade installations most often fail. Natural stone, porcelain, and ceramic tile each require different setting materials and grout joint sizing, and Academy Stone and Tile matches those specifications to the material rather than applying a one-size approach.
Arrange an on-site evaluation to review the current substrate condition and identify which surfaces require full replacement versus preparation and re-tile.
How Custom Shower and Tile Work Is Done Correctly
The distinction between a bathroom tile installation that holds for twenty years and one that fails in five is almost entirely in what happens before the first tile is set. Waterproofing membranes applied at seams, corners, and the shower floor transition prevent the water migration that degrades backer board and framing from behind. Shower niches, benches, and curbs each require their own waterproofing detail, because any unprotected horizontal surface in a wet area will absorb water over time and transmit it into the wall cavity.
After waterproofing is complete and inspected, tile layout is planned to account for the room's actual dimensions—centering grout joints, managing cuts at thresholds, and aligning floor tile patterns with wall tile where the design calls for continuity. What you notice after the work is finished includes tight, consistent grout joints without variation in width, flush transitions at shower curbs and floor edges, and no hollow sound when tapping tile across the field, which indicates proper mortar coverage beneath. Custom shower walls with built-in niches show clean, fully tiled returns and level shelving without lippage at tile edges.
Bathroom floor tile installation involves layout decisions that affect how cuts land at cabinetry, doors, and tub surrounds, and those decisions are made before any tile is cut. Countertop installations—whether stone, porcelain slab, or fabricated material—are measured and templated from the actual cabinet box, not from plan dimensions, because cabinet installations in older Las Vegas homes frequently vary from original drawings.
stone
tile
flooring
Common Questions About Bathroom Tile and Remodel Work
The questions below focus on how bathroom remodel work is actually performed and what affects the approach at each stage of the project.
What has to happen before new tile can be installed in a shower?
The existing tile and backer board are removed and the framing is inspected for moisture damage before any new material goes in. If framing shows deterioration, that is addressed before waterproofing begins, because tiling over damaged substrate shortens the life of the entire installation regardless of tile quality.
How is waterproofing applied in a custom shower build?
A sheet or liquid-applied membrane is installed at the shower pan, corners, seams, and all wall-to-floor transitions, with fabric tape embedded at seams in liquid systems. In Las Vegas homes built before 2005, shower pans were frequently mud-set without a modern waterproofing membrane, so full pan replacement is often required rather than patching the existing assembly.
What determines the grout joint size for large-format tile?
Joint width is set by the tile's actual dimensions and the rectification of its edges—rectified tile with precisely cut edges can be installed at tighter joints, while natural stone typically requires wider joints to accommodate variation in size. The setting material also affects joint sizing, since large-format tile on floors requires mortar coverage across the full tile back to prevent cracking under load.
How is a shower niche built so it does not leak?
The niche box is framed into the wall cavity, waterproofed on all five interior surfaces independently of the surrounding wall, and pitched slightly at the shelf so water drains toward the shower rather than sitting against the back wall. A niche that lacks this independent waterproofing detail allows water to collect at the shelf-to-wall joint, which eventually works into the wall framing.
What does a completed bathtub surround installation look like when done correctly?
Tile runs continuously without gaps at the tub deck, with caulk—not grout—at the tub-to-tile joint to accommodate the slight movement between the tub and the wall. Grout joints align vertically and horizontally across all three wall panels, and cut tiles at corners are sized to match so the layout is symmetrical rather than resolved with a narrow filler piece at one side.
Academy Stone and Tile works through the full scope of residential bathroom remodels, from substrate preparation and waterproofing through custom tile installation, stone countertops, and finish details. To discuss the specific surfaces and conditions in your bathroom, request a project consultation with Academy Stone and Tile directly.